How to Install an Electric Shower
Electric showers are the flavour du jour when it comes to luxurious bathroom solutions, and thousands are choosing to replace their older models with these more technologically advanced devices which offer a myriad of different settings and modes. We offer an extensive selection of stylish electric showers which offer you the latest in design and technology. In this blog we aim to help you with our how to install an electric shower guide.
You may think that installing an electric shower is a job for a professional; the job seems fairly complex, but paying for installation services can be expensive, and that money would be far better spent on a luxury soap dish or a set of fancy new taps! Follow Bella Bathrooms’ guide to installing an electric shower yourself and see if you can’t fit your own luxury shower yourself. 
Step by Step Guide: Installing an Electric Shower:
Initial Action
The first and most important thing to remember is to disconnect the power supply to the shower that you are replacing. It is also crucial to check the electrical supply to ensure it is in good working order before attempting any kind of installation. This step requires basic competence with electrics, but if you are not sure of any step, call out a qualified electrician, who will be able to assist. Once you have tested the electrical supply and turned off the power, switch off the water supply too.
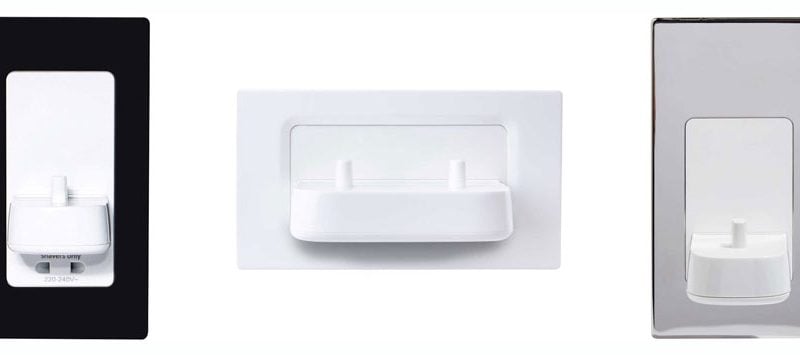
Remove Existing Unit
The next step is to remove the existing shower unit. Many units are simply screwed into the wall, so with a screwdriver this should be fairly easily accomplished. Lift the unit from the wall and discard; you won’t be needing this anymore, especially with your fancy new electric model! Take a good look at your new shower unit and acquaint yourself with the various different connections. Check to see where the water supply connects; if you are lucky, this will be in the same place as your old unit, but there may be some adjustment required. Take off the front panel of your new unit, and examine the electrical connections too.
Attaching the New Unit
Pencil in the position of the new unit on the wall. If you need to make new holes for screws, mark these areas accurately and then grab your power drill. If you are drilling into tiles, make sure not to use certain settings on the drill, as this will result in the surrounding tiles becoming cracked or broken! When you have drilled in any additional holes that are needed, affix your new shower to the wall.
Reconnecting
The next step is to reconnect the water and the power. Before doing so, ensure that the neutrals, lives and earths are all in the right place, and connect up the water supply. Be sure that the wiring is correct; there will be more specific advice in the manual for different shower models. If you are unsure, consult a professional rather than risk turning on the power and the water with faulty wiring. Screw on the front of the shower, then turn on the power and the water and behold your brand new, fully installed electric shower!
For more info as to why an electric shower can be the right choice for you read our insightful blog post on why to choose an electric shower. Browse our full range of electric showers and shower enclosures to help you create the shower of your dreams!