How to Install a Bath
So you’ve purchased your beautiful new bath and are one step closer to the bathroom suite of your dreams. The install process can be challenging and time consuming, particularly with a large fixture such as a bath and the accompanying plumbing and taps. The feeling of accomplishment that will soon follow will make the entire process worthwhile, and you won’t have to pay out for a plumber. Here are Bella Bathrooms’ suggestions for how to install a bath to assist you with the installation procedure:
How To Install a Bath:
Initial Considerations:
- You’ll need to have a think about where you want your bath to go. If you’re replacing an old bath, it might be that you want it in the same place, or you want to try out a new placement for a change of scene. The ramifications of this are that you’ll need to re-work the piping which will need to be adjusted before you install.
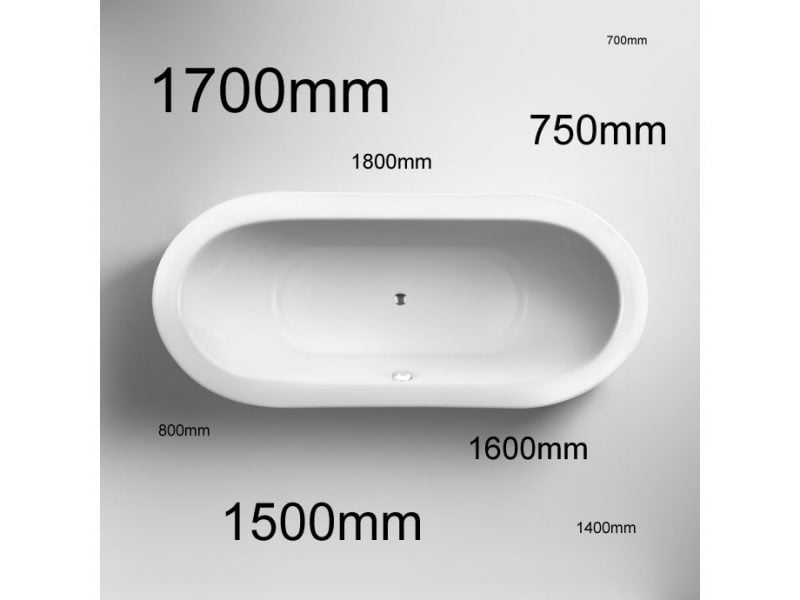
- Take time to measure the bath, pipe and bath waste positions and mark them on the wall so that you have a point of reference from which to work. Before install even begins, it may be necessary to run supply pipes or add spurs to your current runs.
How to Install a Bath: Installation Guide
- The first order of business is to attach the feet assembly. You can do this by turning the bath upside down (whilst it remains in its packaging) and attach the feet into their predetermined positions securing in place with the provided bolts. Different types of bath may have different instructions so it is important to consult your supplied instruction manual. There is not always a once size fits all approach.
- Installing your taps before you install your bath makes things run a little smoother. Place a plastic or rubber sealing gasket onto the tap and insert into the tap hole. The gasket should then be positioned between the tap hole and the bath. You can then add a top-hat washer over the tail end of the tap and fix the tap into place by securing and tightening a nut. You may then connect the pipe tap connector until your taps are securely in place.
- Next, you’ll want to install your waste and overflow sections. The majority of baths now house a fusion of the two so that rather than two separate installs, you are only dealing with one. The two options available are referred to as banjo or compression units. A compression unit fits directly in place whilst the banjo unit requires that you fit the overflow section first.
- Now that all of the essentials are in place, it’s time for the bath itself. To ensure the bath is level, you’ll want to make guiding marks against the wall as a point of reference. You can adjust the height by altering the legs. It is also recommended that you fortify the floor beneath the bath by attaching plywood which will ensure that your bath can take your weight.
- Your bath must then be connected to its nearest wall using a waterproof seal. Silicon mastic sealant can be piped onto the wall to ensure a snug fit. You’ll want to ensure the wall and tiles are clean before attempting this process. Another option if you are tiling is bath sealing strip which bonds to the bath and goes behind the tiles to create the ultimate seal.

- Once you are confident you have done everything (might want to get someone else to check it in case anything obvious has been missed), you can fit any bath panels you may have.
How to Install a Bath: Handy Tips
- Always consult your instruction manual as every bath is made slightly differently and may require different considerations.
- It’s useful to install a bath with a friend to hand to make the process easier.
- If it all seems like too much hassle – leave it to a trusted plumber!
Hopefully our guide on how to install a bath will give you some tips for having a go yourself. Let us know any handy tips or advice you have found useful! Always remember to contact a professional if you have any concerns.