How to Install a Shower Pump
The most important thing to remember when installing a power shower pump is that every pump is made slightly differently. That said there are certain unanimous rules that apply in every case, but there will be slight alterations and modifications required depending on the brand and make of pump you intend to install. For this reason, it is essential to have the relevant instructions for your pump to hand in the event that specific adjustments are required. By using this blog in tandem with your pump instructions, the install process for your bathroom should be effortless.
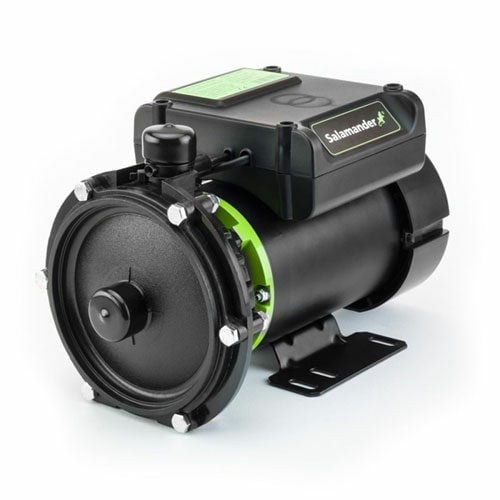
Read on to find out how to install a shower pump. Typically, pumps are used to provide both hot and cold water to your shower head. There are varying styles and types but twin impeller pumps are what most showers make use of. Make sure you have purchased the pump suited to your specifications and shower type. Here are our tips and suggestions to ensure that the process goes without a hitch:
How to Install a Shower Pump:
To Begin
1.The majority of showers require 50 gallons or 225 litres of water to operate effectively. It’s important to ensure that you have enough cold water stored so that your shower can run efficiently. 2. Think about where you want your pump to be positioned. The best placement is at the bottom of the hot water cylinder or as close as you can get to it, but you might choose an alternate placement.
Connect Your Water
3. You’ll need to connect your water supply to your new pump. You can use a 22mm (please note that different pumps require different connections – at this point, consult your specified instruction manual) outlet connection that links the cold water tank to the pump. This can then be drilled into the opposite side of the tank to that which the float valve is located on. As it is advisable to create an isolated water source, it’s best to fit a 22mm full bore isolating valve into the new cold water supply pipe. 4. When connecting to a hot water source, we advise installing a separate connection so that little air can permeate into the pump. The reason for this is that if too much air can get inside, it can damage the properties of the pump. 5. You can use a flange to connect to your hot water cylinder.
Finally
6. Now that your pump is connected to both a cold and hot water source, run the water and check that there is no air present in the pipes. Your pipes can now be connected to the shower valve. As mentioned previously, different pumps will connect to different sized pumping. Check your instruction manual to see what is appropriate for your pump. 7. Isolating valves can be placed close to the shower valve for when servicing is required. Just before you connect the shower valve, give the pipes a flush to check that everything is running smoothly and efficiently. Once you are certain of this you can make the connections to your shower and get ready for a refreshing, revitalising shower experience!